Introduction
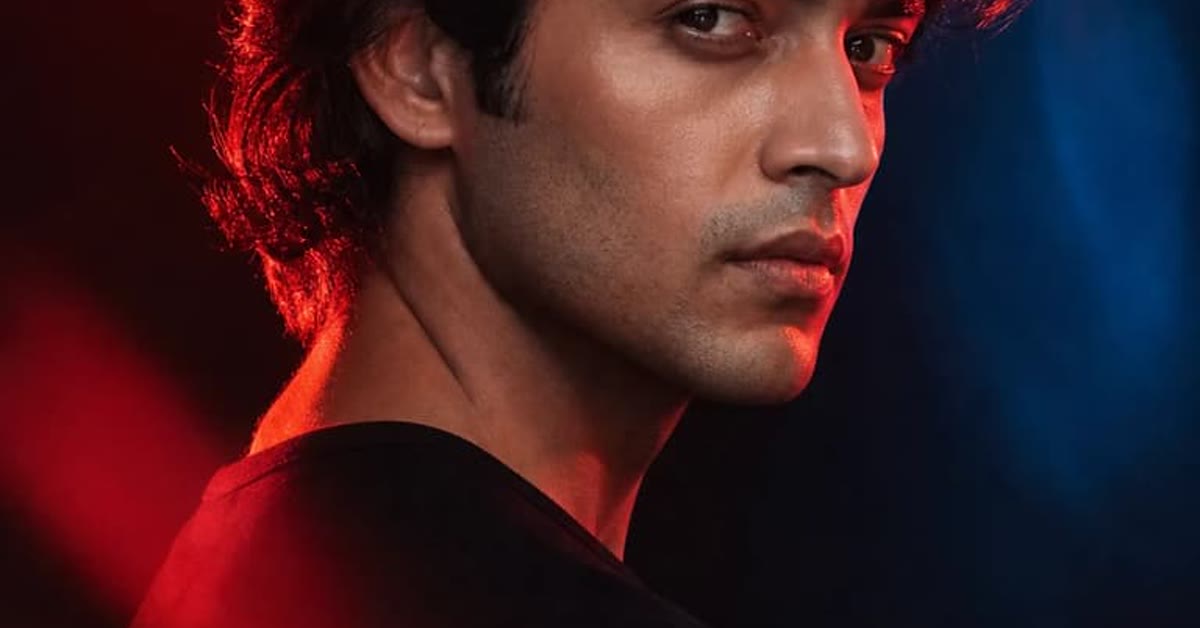
Cinematic background portrait prompts are the fastest way to make an ordinary photo feel like a frame from a movie. Instead of a flat, distracting background, you get soft blur, warm light, and deep shadows that pull all the attention to the face. The result looks intentional, expensive, and ready to post. Used carefully, the cinematic background portrait prompts keeps the subject, setting, and mood working toward the same result.
The trick is in the details. A good prompt asks for golden hour light, natural skin tones, and gentle film grain, so the edit feels like real photography instead of a filter. Use it on portraits, selfies, or couple shots, and keep the expression calm and thoughtful. The mood does most of the work, and the background simply supports it. That balance is what makes the cinematic background portrait prompts useful beyond a single lucky generation.
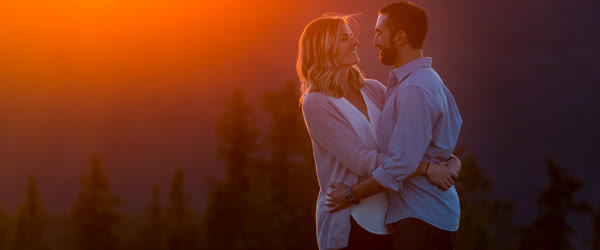
Table of Contents
How to Use This Prompt
- Open your AI photo editor and upload a clear, front-facing portrait with good light on the face.
- Paste the full prompt exactly as written, then generate the first version and check the background blur and skin tones.
- If the face looks too smooth or the light feels harsh, regenerate once with the same prompt and pick the most natural result.
Copy-Paste Prompt
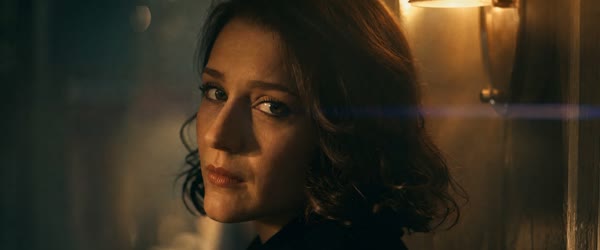
Transform this portrait into a cinematic film still with a softly blurred city background at golden hour, warm rim light tracing the face, deep shadows, and a thoughtful, calm expression. Keep skin tones natural, add gentle film grain, rich contrast, and a shallow depth of field. Ultra-realistic, 4K detail, cinematic lighting, professional photography style.
Pro Tips for Cinematic Background Portrait Prompts
- Start with a photo that has a simple background, so the blur looks clean and believable.
- Avoid heavy makeup or sunglasses in the source photo, since the prompt works best on a natural face.
- Try the same prompt at different times of day in the image, like dusk or overcast light, for a fresh mood.
More Prompts to Try
The prompt above is a strong starting point, but one look gets boring fast. The variations below keep the same cinematic feeling while changing the setting, the light, and the mood. Each one is written to copy and paste exactly as it is, and each one works best on a clear portrait with the face well lit. Try them on different photos and keep the results you love, because a small set of reliable cinematic background portrait prompts will cover almost every portrait you ever post. For a more personal finish, let the cinematic background portrait prompts set the foundation and then change one detail at a time.
Rainy Night City Portrait
Use this when you want drama, neon color, and wet reflections instead of warm sunlight. The cinematic background portrait prompts works best when the strongest visual idea stays easy to read.
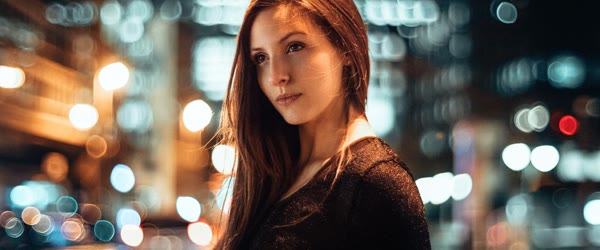
Transform this portrait into a cinematic rainy night film still, with neon signs glowing through soft blur behind the subject, wet pavement reflections, and gentle rain visible in the background light. Keep the face sharp, skin tones natural, and add cool blue shadows with warm highlights on one side of the face. Shallow depth of field, subtle film grain, ultra-realistic, 4K detail, cinematic lighting.
Desert Golden Hour Portrait
Use this for warm, open landscapes and a calm, thoughtful mood.
Transform this portrait into a cinematic desert portrait at golden hour, with soft sand dunes blurred in the background, warm wind moving through the hair, and low sunlight creating a glowing rim of light around the face. Keep the expression calm and distant, preserve natural skin texture, and add gentle film grain with rich warm contrast. Ultra-realistic, 4K detail, cinematic lighting, professional photography style.
Cafe Window Portrait
Use this for cozy indoor portraits with rain, glass, and soft bokeh.
Transform this portrait into a cinematic cafe window portrait, with rain drops on the glass softly blurred behind the subject, warm interior lights glowing in the background, and a coffee cup resting out of focus on the table. Keep the face naturally lit by window light, preserve realistic skin tones, and add soft contrast with light film grain. Ultra-realistic, 4K detail, cinematic lighting.
Mountain Fog Portrait
Use this for cold, quiet, and mysterious portraits with depth.
Transform this portrait into a cinematic mountain portrait wrapped in morning fog, with pine trees fading into soft mist behind the subject and cold blue light touching one side of the face. Keep the expression quiet and thoughtful, preserve natural skin texture, and add gentle contrast with a cool cinematic color grade. Shallow depth of field, subtle film grain, ultra-realistic, 4K detail.
Vintage Film Noir Portrait
Use this for bold black-and-white drama with hard shadows.
Transform this portrait into a vintage film noir still in black and white, with dramatic side lighting cutting across the face, deep shadows, and striped light from window blinds falling softly across the background. Keep the expression serious and calm, preserve fine skin detail, and add strong contrast with visible film grain. Ultra-realistic, 4K detail, classic Hollywood photography style.
Seaside Sunset Portrait
Use this for soft, romantic portraits with open sky and ocean air.
Transform this portrait into a cinematic seaside portrait at sunset, with the ocean horizon softly blurred behind the subject, gentle wind moving the hair, and pastel pink and orange light reflecting on the skin. Keep the expression relaxed and warm, preserve natural skin tones, and add soft film grain with glowing highlights. Shallow depth of field, ultra-realistic, 4K detail, cinematic lighting.
Forest Light Portrait
Use this for dreamy green portraits with dappled sunlight.
Transform this portrait into a cinematic forest portrait with sunlight filtering through leaves, soft green bokeh filling the background, and warm light spots falling gently across the face. Keep the expression peaceful and natural, preserve realistic skin texture, and add soft contrast with light film grain. Ultra-realistic, 4K detail, cinematic lighting, professional photography style.
How to Customize This Prompt
A prompt is not a fixed recipe. It is a set of choices, and changing one choice changes the whole photograph. Start by changing the background, because the background sets the story. A city street says energy and ambition, a quiet beach says calm and romance, and a foggy forest says mystery. Pick the background that matches the feeling you want the viewer to get in the first second. A careful pass with the cinematic background portrait prompts can sharpen the composition without changing the original intent.
Next, change the light. Golden hour light is warm and flattering, but overcast light is soft and honest, and night light with neon is bold and modern. Describe the light in plain words, such as warm, cool, soft, or harsh, and the AI will follow that direction. If the result looks too dark, add words like bright, glowing, or soft daylight. If it looks washed out, add deep shadows or rich contrast. When you compare versions, the cinematic background portrait prompts gives each result the same clear creative baseline.
Then adjust the mood through the expression and the color grade. Words like calm, joyful, thoughtful, or confident tell the generator what face to build, and they matter more than most people expect. For color, try warm tones for comfort, cool tones for distance, or faded tones for nostalgia. You can also name a film style directly, such as classic Hollywood, documentary, or fashion editorial, and the result will shift toward that look. The real strength of the cinematic background portrait prompts is how it turns a broad idea into specific visual choices.
Finally, think about framing. A close-up portrait feels intimate, a half-body shot feels editorial, and a wide shot with lots of background feels cinematic. Add a phrase like close-up portrait, half-body shot, or wide cinematic framing to control this. Small changes like these keep the prompt structure intact while giving you a fresh result every time, and they are the fastest way to build a personal style instead of copying the same look as everyone else. When time is short, the cinematic background portrait prompts offers a repeatable route to a coherent finish.
- Change the background first: city, beach, forest, desert, cafe, or mountains each tell a different story.
- Name the light clearly: golden hour, overcast, neon night, or soft window light.
- Set the expression: calm, smiling, thoughtful, or confident changes the whole mood.
- Pick a color grade: warm, cool, faded vintage, or high-contrast black and white.
- Control the framing: close-up, half-body, or wide shot decides how much background shows.
Step-by-Step Guide
Follow these steps in order, and you will get consistent results instead of random ones. Keep the cinematic background portrait prompts focused, and the final image will usually feel more deliberate.
- Choose the right source photo. Pick a sharp portrait where the face is clear, the eyes are visible, and the light falls evenly on the skin. Avoid blurry photos, heavy filters, or photos where the face is partly covered, because the AI cannot rebuild detail that is not there.
- Clean up the photo lightly. Crop out distracting edges and straighten the photo if it tilts. Do not apply beauty filters or heavy smoothing before generating, since the prompt already asks for natural skin texture and filters can confuse the result.
- Open your AI photo editor. Any modern AI image tool that supports image editing with a text prompt will work. Upload the photo and wait until it is fully loaded before pasting anything, so the tool uses the full-resolution version.
- Paste the full prompt. Copy the entire prompt, including the style words at the end such as ultra-realistic and cinematic lighting. Those closing words carry a lot of weight, and leaving them out often produces a flatter, less polished result.
- Generate the first version. Let the tool finish completely, then look at three things: the background blur, the skin tones, and the eyes. If the background looks painted or the skin looks plastic, regenerate once with the same prompt before changing anything.
- Compare two or three versions. Generate a small set and compare them side by side. The best version is usually the one where the face still looks like the person, the light feels believable, and the background supports the subject without stealing attention.
- Refine with one small change. If something is off, change only one element at a time, such as the time of day, the background, or the expression. Changing everything at once makes it impossible to know what fixed the problem.
- Export and share. Export at the highest quality the tool allows, and keep the original file as well. Post the version that feels most natural, and save the prompt you used so you can repeat the look on future portraits.
Common Mistakes to Avoid
Starting with a low-quality photo. A dark, blurry, or heavily compressed photo will produce a soft, strange result no matter how good the prompt is. The AI builds on what you give it, so start with the sharpest original you have, ideally the unedited photo straight from the camera. Small changes around the cinematic background portrait prompts can produce a fresh result while preserving the scene that works.
Asking for too many things at once. Prompts that list ten backgrounds, three moods, and five styles usually produce a confused image. Pick one background, one light, and one mood. If you want a different look, generate it as a separate version instead of cramming everything into a single prompt. For consistency across a set, the cinematic background portrait prompts helps related images share the same mood and finish.
Over-smoothing the skin. Words like flawless, perfect skin, or airbrushed push the generator toward plastic-looking faces. The prompts in this article deliberately ask for natural skin texture, and you should keep it that way. Real skin with pores and fine lines looks far more cinematic than a waxy, smoothed face. The cinematic background portrait prompts is most effective when lighting, expression, and background all support one another.
Ignoring the edges of the frame. Hair edges, ears, and hands are where AI edits fail most often. Always zoom in and check these areas before posting. If the hair melts into the background or a hand looks wrong, regenerate or crop slightly tighter so the problem area is out of frame. Before you generate again, check that the cinematic background portrait prompts still names the subject and setting clearly.
Using the same prompt for every photo. A prompt tuned for golden hour will look odd on a photo taken indoors at night, and a noir prompt will crush a bright, happy selfie. Match the prompt to the photo you have, or change the light and background words to fit the original conditions. The small effort of adapting the prompt is what separates believable edits from obvious AI images.
Best Tools for This Edit
ChatGPT image editing is the easiest place to start, because you can upload a photo, paste a prompt, and get a result in the same chat. It handles natural language well, so you can follow up with plain requests such as make the background blurrier or warm up the light. It is a good choice for beginners and for quick experiments, and the results are usually clean and believable on portraits. A polished result from the cinematic background portrait prompts often comes from restraint rather than extra decoration.
Google Gemini is a strong alternative, especially for keeping the person’s face recognizable. It tends to preserve identity well across edits, which matters for portraits. Paste the prompt, review the result, and ask for small adjustments in plain words. Gemini is also convenient when you want several variations quickly, since you can ask for the same prompt with a different background in one follow-up message. The cinematic background portrait prompts gives beginners a dependable structure while leaving room to experiment.
Adobe Firefly suits creators who want more control over the final image. It offers stronger editing controls, better handling of lighting and texture, and useful options for refining a result after generation. It takes a little longer to learn, but the extra control pays off when you are building a consistent cinematic style across many portraits. Whichever tool you choose, the prompt structure stays the same, so you can move between tools without rewriting your prompts. When the first result is close, refine the cinematic background portrait prompts instead of starting from a completely new idea.
Frequently Asked Questions
Do cinematic background portrait prompts work on selfies?
Yes, they work well on selfies as long as the photo is sharp and the face is well lit. Hold the phone a little further away than usual so the framing includes some background, and avoid harsh overhead light. A selfie taken near a window in soft daylight will give you the most natural result. That is why the cinematic background portrait prompts rewards a clear subject more than a crowded scene.
Why does the face sometimes look different after editing?
The face changes when the source photo is small, blurry, or heavily filtered, because the generator has to guess the missing detail. It can also happen when the prompt asks for a strong expression change. Use a clear, high-resolution photo, keep the expression request gentle, and regenerate once if the first result drifts away from the real face. Used at full quality, the cinematic background portrait prompts can make an everyday photo feel ready to publish.
Can I use these prompts on group photos?
You can, but the results are less reliable. The prompt is written for a single subject, so with two or more people the background blur and lighting may apply unevenly. For groups, crop the photo to feature one person, or generate each person separately and combine the results in an editor. The cinematic background portrait prompts also travels well across portraits, scenes, and themed variations.
Will these prompts work on old or black-and-white photos?
They work surprisingly well. For old photos, add the words restore and enhance detail to the prompt, and keep the cinematic background subtle so the original character of the photo survives. For black-and-white photos, either keep the monochrome look with the film noir variation or ask for gentle color restoration in the same prompt. For the final check, compare the result against the cinematic background portrait prompts and remove anything that distracts from it.
Can I sell portraits made with these prompts?
That depends on the tool you use and its terms of service, which change from time to time. Most major AI tools allow commercial use of images you generate, but you should check the current terms of the specific tool before selling client work. For personal posts and portfolios, there is normally no restriction at all. A second version built from the cinematic background portrait prompts can reveal a stronger crop, expression, or color balance.
Final Words
One strong prompt is all it takes to turn a plain portrait into a cinematic moment. Copy it, try it on your best photo, and share the version that feels most like you. The cinematic background portrait prompts keeps the creative direction visible even after several custom changes.
Leave a Reply